
Drawing a Tile Map - Canvas & Javascript
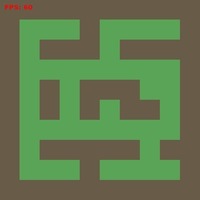
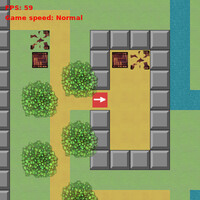
Discover the basics of tile maps, using Canvas and Javascript. In this tutorial we'll learn how to draw a simple Tile Map to an HTML Canvas.
Discover the basics of tile maps, using Canvas and Javascript. In this tutorial we'll learn how to draw a simple Tile Map to an HTML Canvas.
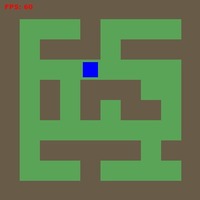
We now look at adding a Character and converting user input to movement in our tile map tutorial.
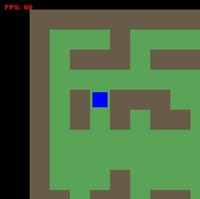
Displaying maps larger than the visible area by moving the viewport and culling off-screen tiles.

Making it simple to add more types of tiles to our map, and creating some helper functions for Character movement.
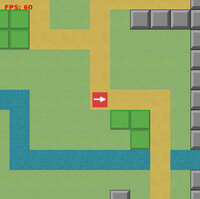
Improving the appearance of our Canvas map by using an Image tilesheet for our Graphics.

Animating the sprites we're using on our Canvas game with some simple Javascript.
Making tiles just sit there and look pretty, we see how to force Character movement with slippery tiles and moving surfaces.

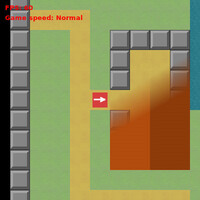
We can't move on all surfaces with the same ease, so now we learn how to set different movement speeds dependant on the type of tile.
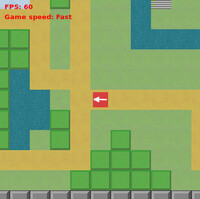
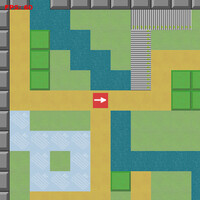
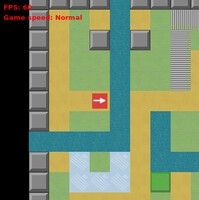
Time must stop! We'll look at how to not only pause the game, but also speed up or slow down time.
The Character arriving at a specific tile may need to progress or alter the game world or story. We can do that by assigning functions to be triggered on arrival at certain tiles.
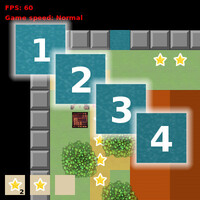
An introduction to raytracing on 2D tile maps and an example of a method that could be used for illumination.
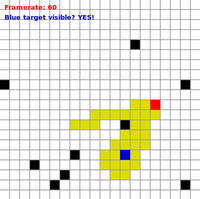
Using raytracing to determine vision on a tile map.
Lighting 2D tilemaps with light sources and ray tracing.
Improving your tilemap lighting with bloom, the second part of the tilemap lighting with raytracing tutorial.
We now add roofs to our tile map and improve our map and tile engine.
Objects are now added to our simple tile based game, and we learn to render in multiple passes for different layers of objects and tiles.
In this tutorial we'll create a class to manage sprites and frames and convert our existing sprites to make use of it.